LEDGER.COM/START – BEGINNER SETUP STEP-BY-STEP (FULLY REWRITTEN GUIDE)
Setting up a Ledger hardware wallet is one of the safest ways to secure your cryptocurrency, and the official place to begin the process is Ledger.com/start. This page provides the correct instructions, download links, and important security reminders for anyone unboxing a Ledger Nano S Plus or Ledger Nano X for the first time. The following guide is a freshly rewritten 800-word walkthrough to help you complete the setup confidently.
1. GETTING STARTED AT LEDGER.COM/START
When you visit Ledger.com/start, you’ll find everything needed to set up your device the right way. Because cryptocurrencies are high-value targets for scammers, it’s important to always use the official Ledger website, not links found on social media or random third-party pages.
At the start page, you will:
Download the Ledger Live app
Select your Ledger model
Access setup instructions
Learn essential safety rules
⚠️ SECURITY REMINDER: Ledger will never ask for your recovery phrase, and the official software is only available through Ledger.com/start.
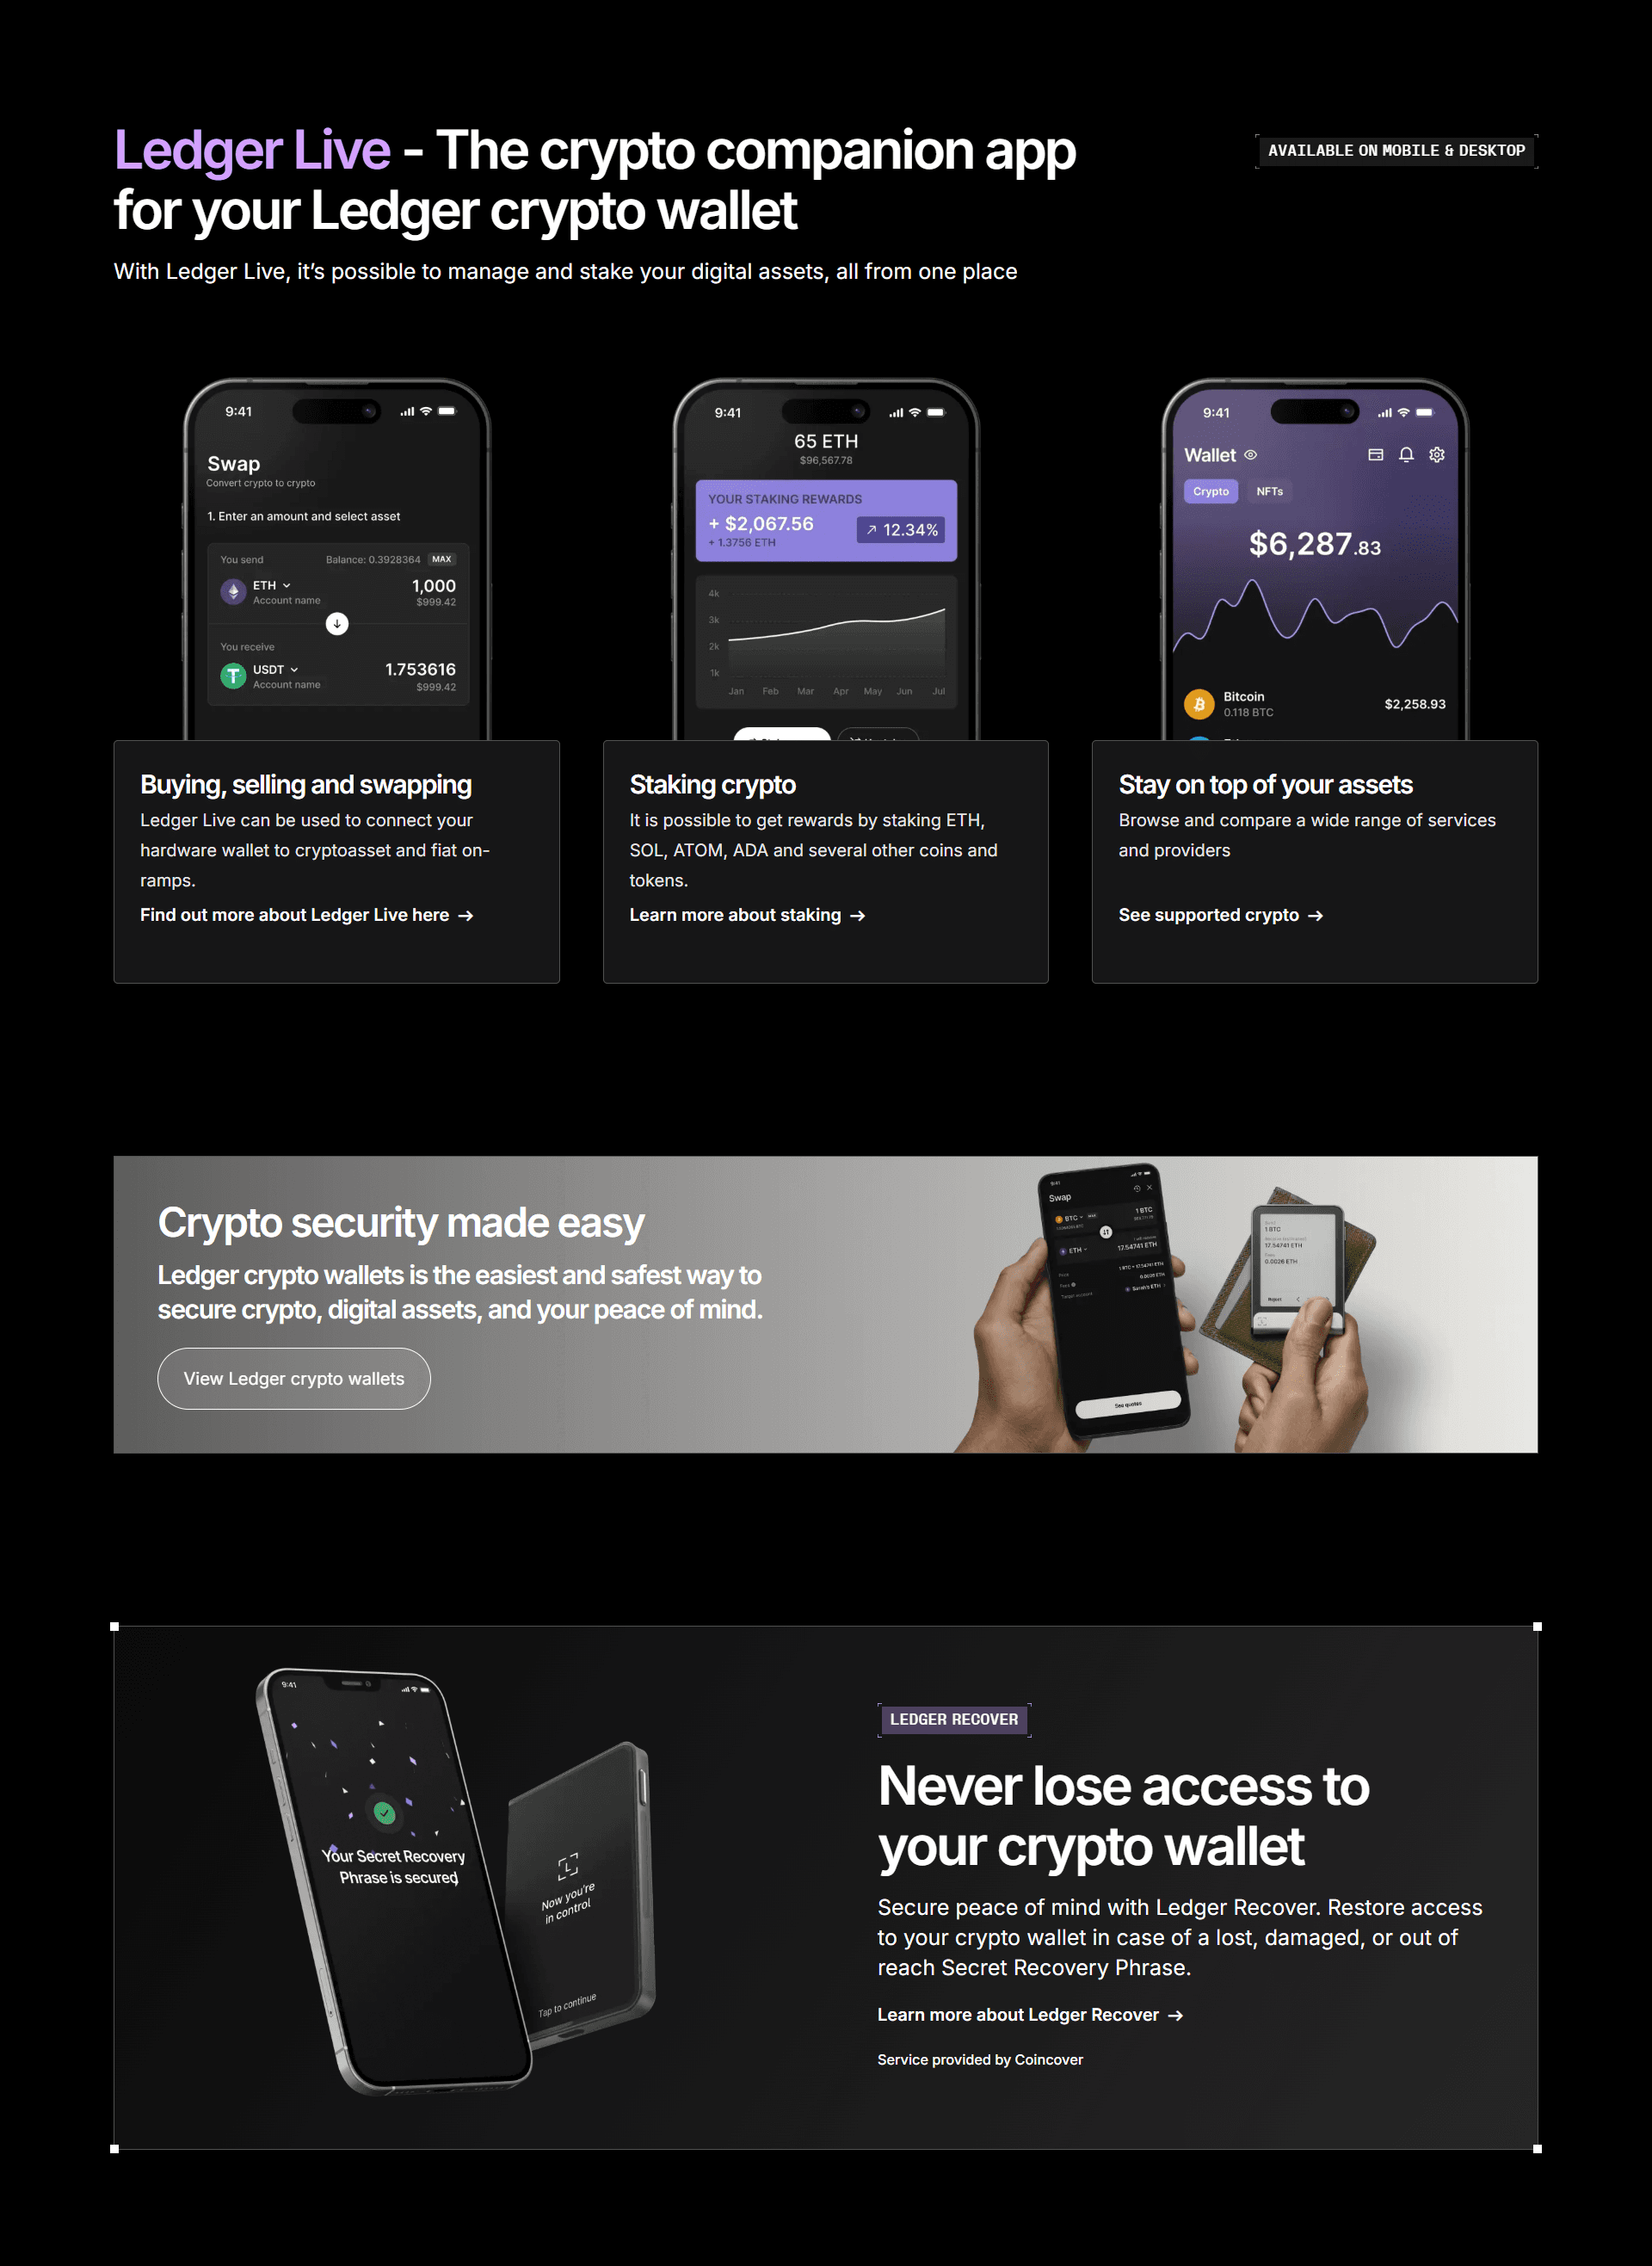
2. INSTALLING THE LEDGER LIVE APPLICATION
Ledger Live is the desktop and mobile application used to manage your cryptocurrency through your hardware wallet. It handles updates, crypto accounts, transactions, and staking.
To download Ledger Live:
Visit Ledger.com/start
Choose your operating system: Windows, macOS, or Linux
Download the latest version
Install and launch the application
Once opened, click “Set up a new device” to begin the process.
Ledger Live acts as your interface, while the hardware wallet protects your private keys. The two work together, but only your Ledger device holds your keys.
3. INITIALIZING YOUR LEDGER DEVICE
After downloading Ledger Live, it’s time to set up your Ledger hardware wallet. Connect it using the included cable and follow the on-screen instructions.
3.1 Creating Your PIN Code
Your Ledger will prompt you to choose a PIN.
This PIN:
Must be 4–8 digits
Should be easy for you to remember
Must not be something predictable
Entering the wrong PIN multiple times will reset the device, protecting you from unauthorized access.
3.2 Receiving Your 24-Word Recovery Phrase
Once your PIN is set, the Ledger device will generate a 24-word Recovery Phrase. This phrase acts as the master key to your wallet.
IMPORTANT RULES FOR YOUR RECOVERY PHRASE:
Write all 24 words down on paper
Store them securely offline
Never save them in photos, screenshots, or cloud storage
Never share these words with anyone
Never type the phrase on any website
⚠️ CRITICAL WARNING:
Anyone who knows your 24-word phrase can steal 100% of your crypto. Ledger support will NEVER ask for it.
3.3 Confirming the Recovery Words
Your Ledger device will ask you to verify the words. This ensures you wrote them correctly and in order. Once confirmed, the core setup of your device is complete.
4. INSTALLING APPS ON YOUR LEDGER DEVICE
To use specific cryptocurrencies, you need to install their blockchain apps.
Steps:
Open Ledger Live
Go to My Ledger
Connect and unlock your device
Browse the app catalog
Install the apps you need (Bitcoin, Ethereum, Solana, etc.)
Each crypto requires its own app, but even if you uninstall apps later, your assets remain safe because the keys stay on your device.
5. ADDING ACCOUNTS IN LEDGER LIVE
After installing apps, add accounts for the cryptocurrencies you want to manage.
Steps:
Go to Accounts
Click Add account
Choose the crypto type
Connect your Ledger device
Approve the process on the device screen
Now your Ledger will display balances, allow transfers, and organize your portfolio securely.
6. RECEIVING CRYPTO INTO YOUR LEDGER WALLET
To receive funds:
Open Ledger Live
Select Receive
Choose your account
Connect your Ledger device
Verify the receiving address displayed
Always check that the address on your computer matches the one shown on your Ledger device. This protects you against malware that may try to replace addresses.
After verification, share the address with the sender or use it to transfer funds from exchanges.
7. SENDING CRYPTO FROM YOUR LEDGER WALLET
To send crypto safely:
Select Send
Enter the receiver’s address
Choose the amount
Review the transaction
Approve it physically on your Ledger device
Your Ledger will not send anything unless you confirm it on the device, adding strong protection against unauthorized transactions.
8. ONGOING SECURITY PRACTICES
To keep your crypto safe, always follow these rules:
NEVER reveal your 24-word Recovery Phrase
Keep your phrase stored offline, in at least two secure places
Update Ledger Live and your device firmware regularly
Do not buy devices from unofficial retailers
Use a strong PIN and keep it private
A Ledger wallet is extremely secure, but only if these rules are followed.
9. COMMON PROBLEMS AND SIMPLE FIXES
Device not connecting:
Restart Ledger Live
Try a different cable
Switch USB ports
Not enough device storage:
Remove unused apps (this does NOT affect your assets)
Forgot your PIN:
Reset the device
Restore using your 24-word phrase
10. WRAPPING UP
Starting your crypto journey through Ledger.com/start ensures you are using the safest, most accurate instructions. Once your Ledger device, Ledger Live, and recovery phrase are set up correctly, your digital assets benefit from one of the strongest levels of protection available.